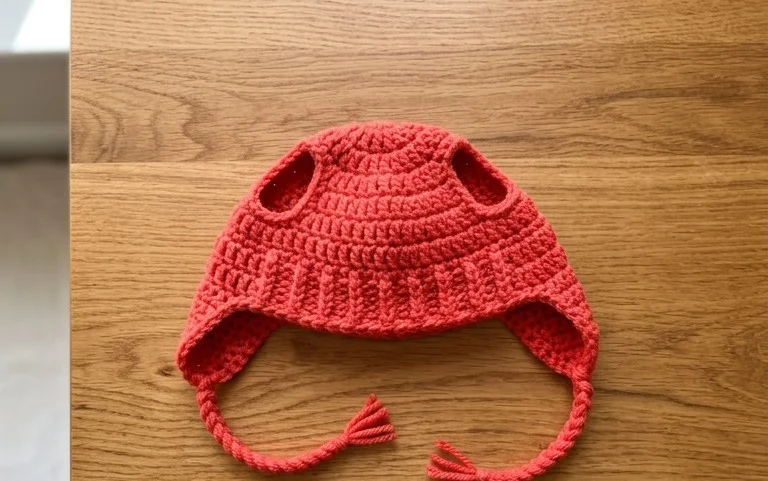
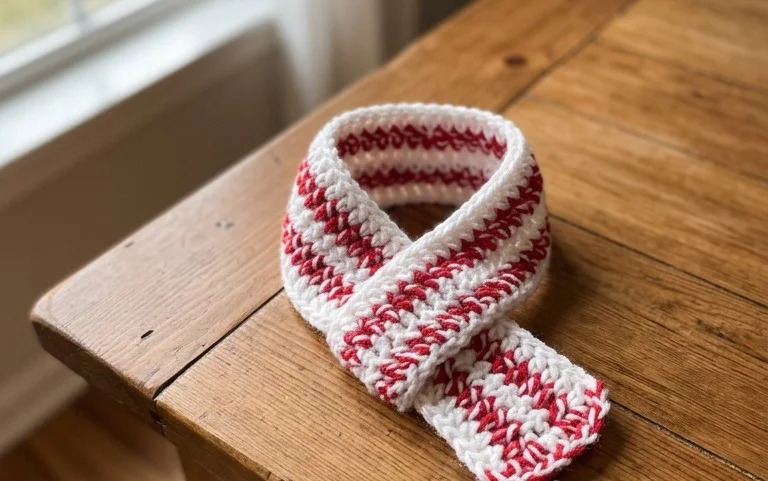
Easy Crochet Beanie Pattern: Step-by-Step Guide
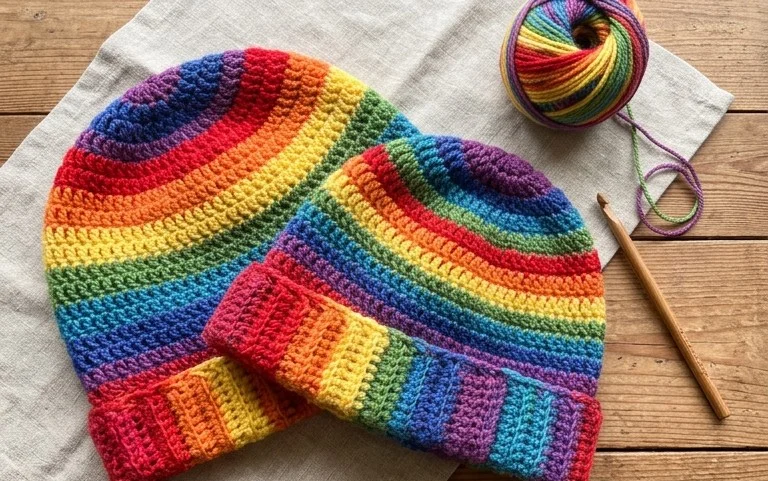
This classic beanie features a dense, warm fabric that stands up to the coldest winter winds. Its ribbed texture gives it a professional, store-bought look while remaining soft and squishy against your skin. Beginners often find this project rewarding because it works up quickly in just one evening of stitching. You will work the fabric flat in a simple rectangle before joining the edges, which saves you from the frustration of constant circular counting. We focus on mastering post stitches to build that signature elasticity, creating a hat that fits snugly without feeling tight or pulling at your hair after long wear.
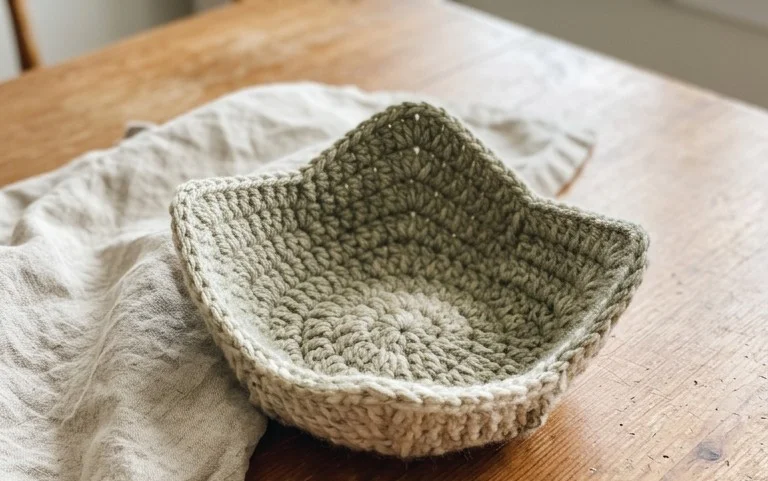
Why You’ll Love This Pattern
This classic crochet beanie works up quickly using a simple repetitive stitch pattern that creates a dense, warm fabric perfect for cold weather. The design relies on post stitches to create a ribbed texture, which provides natural elasticity and a professional, store-bought appearance. Because the hat is constructed from the bottom up as a flat rectangle before being seamed, it is an ideal project for those who find working in continuous rounds to be a challenge. The yarn choice allows for a soft, squishy feel that remains comfortable even after hours of wear.
I finished this hat in one evening while watching a movie. The ribbed effect is stunning and looks much more complicated than it actually is to crochet.
— Sarah, beginner crocheter
Pattern Overview & Skill Level
- Skill Level: Beginner
- Approximate Time: 3 to 4 hours
- Construction: Worked flat in rows to create a rectangle, then seamed to form a tube and cinched at the crown.
- Finished Dimensions: Fits an average adult head size (20 to 22 inches in circumference).
Materials & Supplies Needed
- Yarn: Worsted weight (#4) wool or acrylic blend, approximately 200 yards.
- Hook Size: 5.5 mm (US I-9).
- Notions: Tapestry needle for seaming, stitch markers, and scissors.
- Safe yarn substitutions: You may use cotton yarn, though it will result in a heavier, less stretchy hat. If using a lighter weight yarn, you must increase the starting chain length and work more rows to maintain the dimensions.
Stitch Guide & Abbreviations (US Terms)
- ch: chain
- st(s): stitch(es)
- sc: single crochet
- hdc: half double crochet
- BLO: back loop only. Insert hook only into the back loop of the stitch from the previous row.
- sl st: slip stitch
Step-by-Step Pattern Instructions
Hat Body
The hat is worked in rows to create the textured ribbing. Always ch 1 at the start of each row. The chain does not count as a stitch.
- Row 1: Ch 45. Hdc in the second chain from hook and each chain across. (44 sts).
- Row 2: Ch 1, turn. Hdc in the BLO of each st across. (44 sts).
- Rows 3-60: Repeat Row 2 until the piece measures approximately 20 inches wide when slightly stretched.
Assembly and Finishing
- Seaming: Fold the rectangle in half, matching the short ends. Using a tapestry needle and a long tail of yarn, whip stitch the two edges together to form a tube. Secure the yarn and cut, leaving a long tail for cinching.
- Cinched Crown: Using the long tail and your tapestry needle, weave the yarn in and out along the top edge of the tube. Pull the yarn tight to close the opening like a drawstring. Secure the center with several tight stitches to ensure no hole remains.
- Final Weaving: Turn the hat right side out and weave in all remaining yarn ends securely on the interior side.
Care & Washing Instructions
- Hand wash in cool water using a mild detergent specifically formulated for wool or synthetic fibers.
- Lay the hat flat on a clean towel to air dry, reshaping it gently while damp to ensure it retains its original form.
- Do not wring or twist the hat, as this can distort the crochet stitches and stretch the fabric permanently.
Pro Tips & Common Mistakes to Avoid
Maintaining consistent tension is the most important factor for a uniform ribbing look. If your stitches are too tight, the hat will be stiff and lose its stretch; if too loose, the fabric will look gapped. Use a stitch marker at the beginning of each row to help you count your stitches, as the BLO technique can sometimes hide the final stitch of a row. When weaving in your ends, run the needle through the stitches in multiple directions to ensure the seam does not pull apart over time. If you decide to adjust the size, add or subtract chains in multiples of two to maintain the integrity of the stitch pattern.
Frequently Asked Questions
Can I use a larger hook for this pattern?
Yes, using a larger hook will create a looser, drape-heavy fabric. Be aware that this will increase the final size of the hat and require more yarn than the standard recommendation.
Is this pattern suitable for complete beginners?
This pattern is highly beginner-friendly because it uses only one basic stitch, the half double crochet, and works in flat rows. You only need to learn how to identify the back loop of a stitch.
Can I sell the finished hats I make from this pattern?
You are welcome to sell finished items made from this design. Please credit the pattern designer in your listing or tags to help other crafters find the instructions.
How do I know if I have enough yarn?
The pattern calls for 200 yards, which is a standard skein size. If you are concerned about running out, weigh your yarn before starting and weigh it again halfway through the project to estimate your usage.
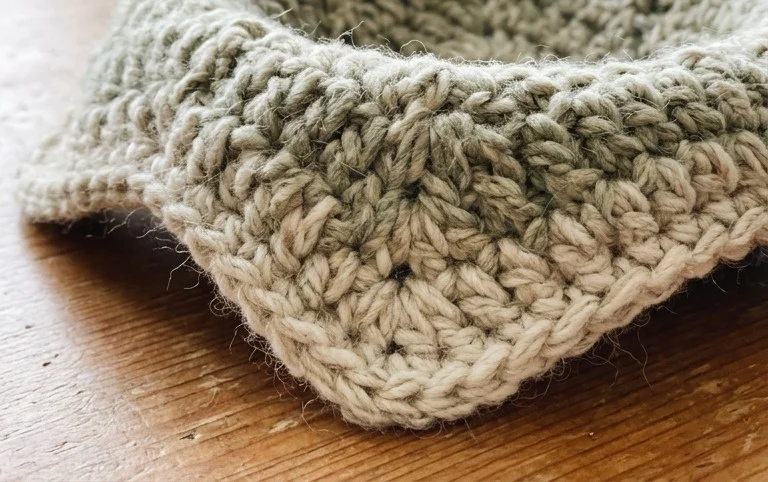
Your finished hat brings a cozy, handmade touch to any outfit during the chilly months. You can experiment with a variegated wool yarn to create unique color shifts or add a faux fur pompom to the top for extra personality. Tag us in your photos on social media so we can see how your project turned out. If you enjoyed this build, check out our collection of free patterns for mittens and scarves to find your next winter project. Happy crocheting and enjoy your warm new accessory.