Easy Crochet Unisex Beanie: Free Beginner Step-by-Step
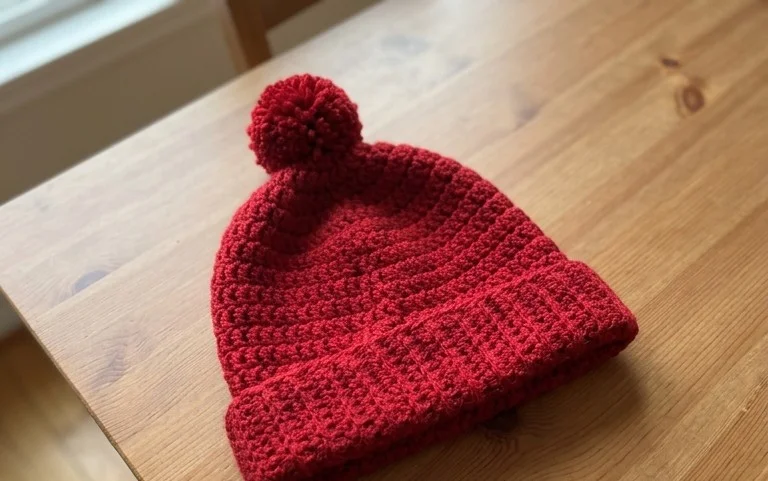
A soft, squishy beanie made from a single ball of worsted weight yarn provides the warmth needed for any crisp autumn morning or cold winter commute. This project relies on a simple back-loop-only technique that creates a professional, ribbed texture mimicking store-bought knits. It works up as a flat rectangle, meaning you avoid the frustration of circular rows and complex crown shaping. Beginners find this repetitive motion relaxing as it builds steady tension, while experienced makers appreciate a quick gift idea that finishes in just a few hours. You will learn to form a neat rectangle, join the edges with a slip stitch seam, and gather the crown for a classic silhouette that fits almost any adult head comfortably.
Why You’ll Love This Pattern
This crochet ribbed beanie pattern utilizes a simple back-loop-only technique that creates a professional, store-bought look with significant stretch. It is a one-skein project, making it an ideal choice for using up that single quality ball of yarn you have been saving. Because the beanie is worked in a flat rectangle and then seamed, you do not need to worry about complex round-counting or shaping during the body of the work. The thick, squishy texture provides excellent warmth for chilly days and the finished item fits most adult heads comfortably. Beginners will find the repetitive nature of the stitches helpful for building muscle memory and consistent tension.
I finished this hat in one evening while watching a movie. The ribbed texture looks so much more professional than basic single crochet, and the instructions were very easy to follow.
— Sarah, hobbyist crocheter
Pattern Overview & Skill Level
- Skill Level: Beginner
- Approximate Time: 3 to 4 hours
- Construction: Worked flat in rows to create a rectangle, then seamed to form a tube and gathered at the crown
- Finished Dimensions: 9 inches wide by 11 inches tall (unfolded), fits average adult head circumference of 20 to 22 inches
Materials & Supplies Needed
- Yarn: Worsted weight (#4), wool or acrylic blend, approximately 200 yards. A solid color highlights the ribbing best.
- Hook Size: 5.5 mm (US I-9) to achieve a flexible drape.
- Notions: Tapestry needle for seaming, scissors, and a measuring tape.
- Safe Yarn Substitutions: If using a cotton yarn, the hat will be heavier and have less natural “spring.” If using a bulky weight yarn, reduce the starting chain by 5 stitches and expect a thicker, stiffer fabric.
Stitch Guide & Abbreviations (US Terms)
- ch = chain
- sc = single crochet
- BLO = back loop only: insert the hook under only the back strand of the V-shaped stitch top
- st(s) = stitch(es)
- sl st = slip stitch
- FO = fasten off
Step-by-Step Pattern Instructions
Main Body
- Row 1: Ch 41. Sc in the second ch from hook and in every ch across. (40 sts)
- Row 2: Ch 1, turn. Sc in BLO of the first st and in each st across. (40 sts)
- Rows 3–60: Repeat Row 2 until the piece measures approximately 18 inches in length when slightly stretched.
Assembly and Finishing
- Fold the rectangle in half, matching the short ends together.
- With the right side facing in, sl st the two short edges together through both loops of the edges to create a tube. FO, leaving a 12-inch tail.
- Thread the tapestry needle with the tail. Weave the yarn in and out along the top edge of the tube.
- Pull the yarn tail tightly to gather the top of the hat closed. Secure with a knot on the inside.
- Weave in all remaining ends securely to prevent unraveling.
Care & Washing Instructions
- Hand wash in cool water using a mild wool-safe detergent to maintain the integrity of the yarn fibers.
- Gently press out excess water with a clean towel; do not wring or twist the fabric as this can distort the ribbing.
- Lay the hat flat on a dry towel away from direct heat to air dry, ensuring it retains its original shape.
Pro Tips & Common Mistakes to Avoid
Maintaining consistent tension is the most important factor in this pattern. If your slip stitches are too tight, the seam will look puckered and obvious; if they are too loose, the seam will have gaps. Use a stitch marker on the first stitch of every row to ensure you do not accidentally skip the last stitch, which is a common cause for a trapezoid-shaped rectangle rather than a perfect square. Weave your ends back and forth in three different directions to ensure they stay locked inside the seam even after frequent washing. If you want a slouchier fit, simply add rows to the width before seaming, noting that this will require approximately 20 additional yards of yarn per two inches of added width.
Frequently Asked Questions
Can I substitute the worsted weight yarn for a thinner yarn?
You can use a lighter weight yarn, but you will need to add more starting chains to reach the 11-inch height and significantly more rows to reach the circumference of an adult head. I recommend sticking to worsted weight for the best results.
Is this pattern suitable for someone who has never crocheted before?
Yes, this is an excellent first project. It requires mastery of only two techniques: the chain stitch and the single crochet worked in the back loop.
Am I allowed to sell hats made from this pattern?
Yes, you are welcome to sell finished items made from this pattern. I only ask that you credit the pattern design to me when listing your items for sale.
How do I make the hat fit a smaller child?
To adjust the size, start with a shorter foundation chain (for example, 35 chains instead of 41) to reduce the height. Reduce the total number of rows until the fabric wraps comfortably around the child’s head.
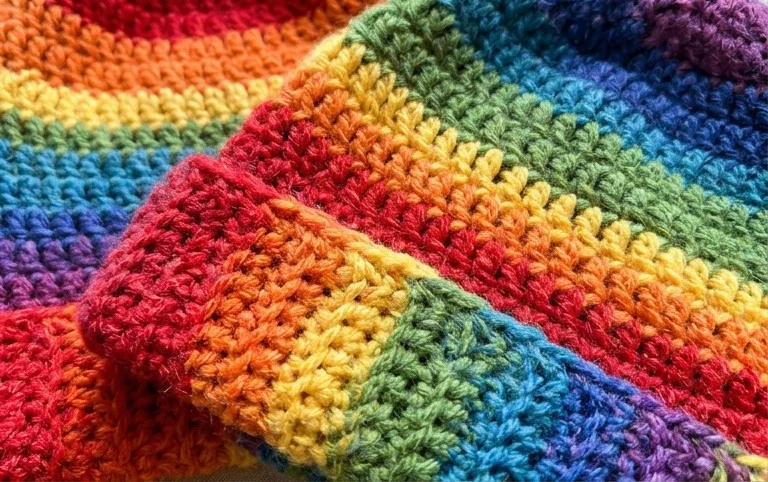
Your new ribbed hat offers a classic look that works well with any winter coat or casual scarf. You can personalize your next version by using a marled yarn to add visual depth or holding two strands of thinner yarn together for extra bulk. Sharing a photo of your work on Instagram helps others find inspiration for their own projects. Please visit the main project page on this blog to discover more simple patterns for scarves, mittens, and blankets that use similar basic stitches for functional, long-lasting results.