Beautiful Flower Crochet Stitches: Free Step-by-Step
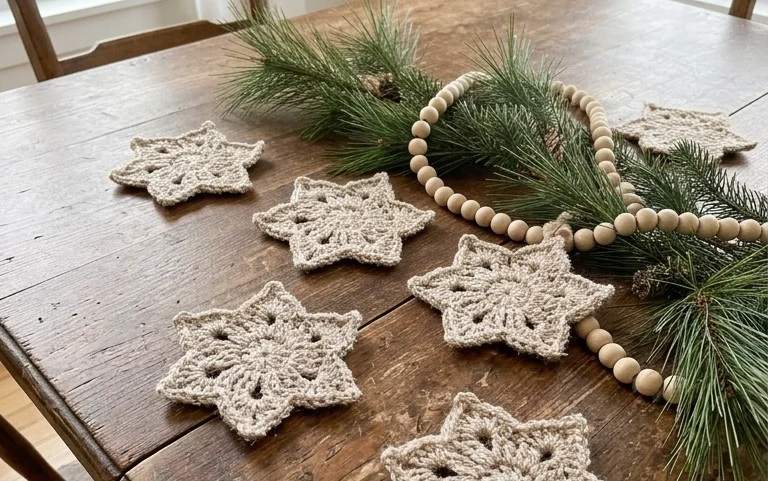
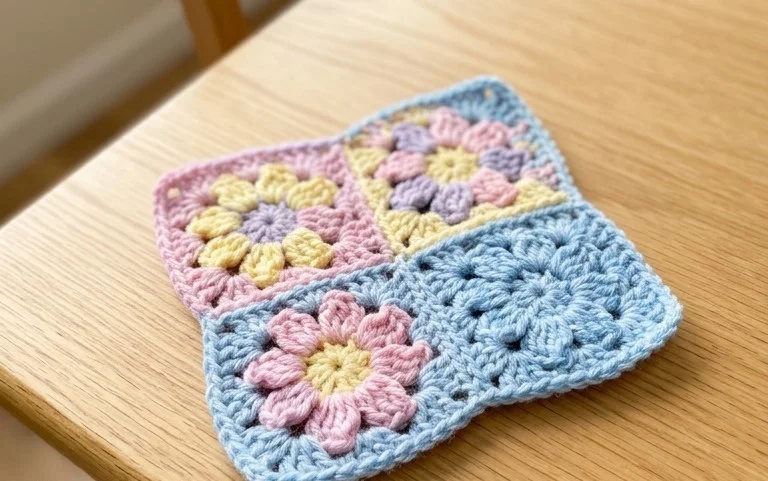
These floral motifs bring a soft, natural texture to any room, turning simple yarn into three-dimensional petals that look like they belong in a spring garden. Beginners often find these projects rewarding because they transform quickly, providing a clear sense of progress with every petal worked. You can use these pieces to decorate handmade cards, embellish plain blankets, or join them together for a full throw that feels thick and cozy under your fingers. This guide explains how to build up layers using basic loops and stitches, ensuring you get a clean finish every single time.
Why This Project Is Worth Making
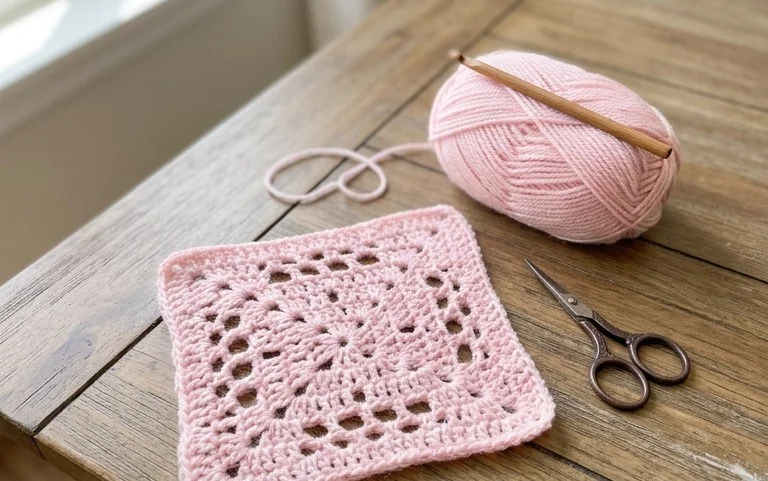
The Classic Crochet Granny Square is the fundamental building block of crochet design. This specific version uses a traditional three-double-crochet cluster technique, creating a dense but flexible fabric that works perfectly for blankets, bags, or decorative cushions. Its modular nature allows you to carry just a small ball of yarn and a hook in your bag, making it a reliable project for those moments when you have a few minutes of downtime. Because each square is independent, you can manage your yarn usage effectively and easily integrate scrap yarn from previous projects. The repetitive nature of the rounds provides a steady, meditative rhythm that helps maintain consistent tension, which is the most important skill for a growing crocheter.
I finally mastered the center join after years of struggling with other patterns, and now I have a whole stack of these squares ready to turn into a throw for my living room.
— Sarah, hobbyist crafter
Pattern Overview & Skill Level
- Skill Level: Beginner
- Approximate Time: 30 to 45 minutes per square
- Construction: Working in rounds from the center outward
- Finished Dimensions: Approximately 6 inches by 6 inches using worsted weight yarn
Materials & Supplies Needed
- Yarn: Worsted weight (#4), 100% acrylic or wool blend, approximately 20 yards per square.
- Hook Size: 5.0 mm / H-8
- Notions: Tapestry needle for weaving in ends, sharp scissors.
- Safe yarn substitutions: You may use DK weight yarn with a 4.0 mm hook for a smaller, tighter square, or bulky weight yarn with a 6.0 mm hook for a faster, larger square. Note that changing the weight will alter the final dimensions and require more or less yarn.
Stitch Guide & Abbreviations (US Terms)
- ch = chain
- dc = double crochet: Yarn over, insert hook into stitch, yarn over and pull up a loop, yarn over and pull through two loops on hook, yarn over and pull through remaining two loops.
- sl st = slip stitch: Insert hook into stitch, yarn over and pull through stitch and loop on hook.
- sp = space
- st = stitch
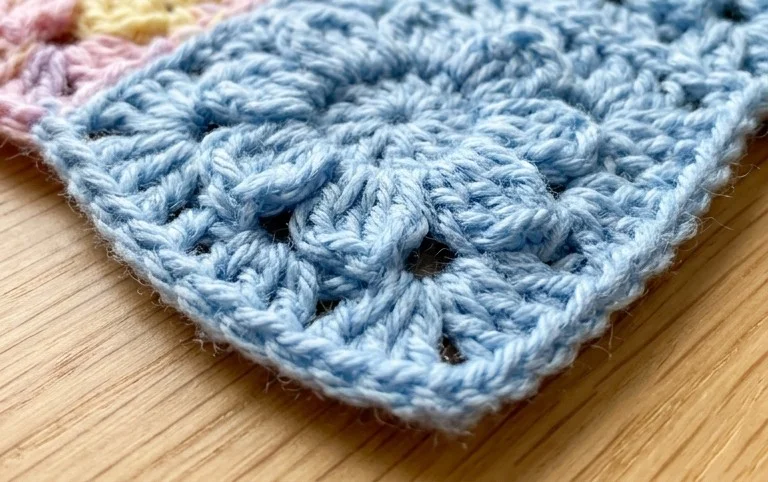
- Cluster = A group of 3 dc stitches worked into the same chain space.
Step-by-Step Pattern Instructions
This square is worked in continuous rounds, joining with a slip stitch at the end of each round and chaining to reach the height of the next round.
The Square
- Round 1: Ch 4, join with a sl st to the first ch to form a ring. Ch 3 (counts as first dc), 2 dc into the ring, ch 2, *3 dc into the ring, ch 2; repeat from * twice more. Join with sl st to top of starting ch-3. (12 dc, 4 ch-2 spaces)
- Round 2: Sl st into the next two sts and into the first ch-2 sp. Ch 3, (2 dc, ch 2, 3 dc) in the same ch-2 sp. *Ch 1, skip 3 dc, (3 dc, ch 2, 3 dc) in the next ch-2 sp; repeat from * twice more. Ch 1, join with sl st to top of starting ch-3. (24 dc, 4 ch-2 spaces, 4 ch-1 spaces)
- Round 3: Sl st into the next two sts and into the first ch-2 sp. Ch 3, (2 dc, ch 2, 3 dc) in the same ch-2 sp. *Ch 1, 3 dc in next ch-1 sp, ch 1, (3 dc, ch 2, 3 dc) in the next ch-2 sp; repeat from * twice more. Ch 1, 3 dc in the final ch-1 sp, ch 1, join with sl st to top of starting ch-3. (36 dc, 4 ch-2 spaces, 8 ch-1 spaces)
- Round 4: Continue in established pattern, working (3 dc, ch 2, 3 dc) in corner ch-2 spaces and 3 dc in every side ch-1 space, separated by ch 1. Join with sl st to top of starting ch-3. (48 dc, 4 ch-2 spaces, 12 ch-1 spaces)
Finishing
Fasten off your yarn, leaving a 6-inch tail. Use a tapestry needle to weave the tail through the back loops of the stitches on the reverse side of the square to secure it. Trim the excess yarn close to the fabric, being careful not to snip the stitches themselves.
Care & Washing Instructions
- Hand wash in cool water using a mild wool-safe detergent to preserve fiber integrity.
- Lay the square flat on a clean towel, reshaping it into a perfect square while damp to ensure it dries evenly.
- Avoid using a tumble dryer, as heat can melt acrylic fibers or shrink natural wool.
Pro Tips & Common Mistakes to Avoid
- Tension Consistency: If your squares are curling, your tension is likely too tight. Try going up one hook size or consciously relaxing your grip on the yarn.
- Stitch Counting: Always place a stitch marker in the top of your starting ch-3. This makes it much easier to identify the join point when you return to the beginning of the round.
- Weaving Ends: Weave your ends in multiple directions—horizontally, vertically, and diagonally—to prevent them from working loose after the item is washed or used.
- Adjusting Size: You can make the square as large as you want by adding more rounds. Remember that each additional round will use significantly more yarn than the previous one, so ensure you have enough yardage if you are working from a limited supply.
Frequently Asked Questions
Can I substitute the yarn type?
Yes, you can use any fiber content, but keep in mind that cotton will be less elastic than wool or acrylic, which may affect the drape of your final project.
Is it difficult for a complete beginner?
The pattern uses the most common stitches in crochet. Once you master the double crochet, the repetitive nature of the rounds makes this a very approachable learning project.
Can I sell finished items made from this pattern?
You are welcome to sell physical items made from this pattern. Please check the specific terms on the original designer’s website if you are using this as a reference for a larger business.
How do I join these squares together?
The most common methods are the mattress stitch, which creates a nearly invisible seam, or the single crochet join, which creates a decorative, raised ridge between squares.
Your new floral creation adds a cheerful touch to your home, especially when you use variegated yarn to mimic the natural shading found in real lilies or roses. If you want a more subtle look, try using a solid cream cotton thread for a vintage lace appearance that fits any decor style. Sharing your finished work online helps others find inspiration for their own craft bins. Visit our main archive for more free patterns to build your collection of handmade home accessories today.