Easy Ribbed Beanie: Free Crochet Pattern for Beginners
This squishy, ribbed hat captures the cozy essence of a brisk morning walk with its dense, thermal texture that holds heat close to your ears. You will appreciate how the fabric behaves like a soft sponge, stretching comfortably to fit any adult head while maintaining its structured shape over time. This project works well for anyone building confidence with their hook, as it relies entirely on the steady rhythm of half double crochet stitches worked into the back loops. You can produce a professional-looking accessory in just one afternoon, making it a reliable choice for quick gifts or refreshing your own winter wardrobe without getting bogged down in complicated shaping or math.
Why You’ll Love This Pattern
This crochet ribbed beanie pattern uses a simple construction method that creates a soft, squishy fabric perfect for cold weather. You work the hat as a flat rectangle, then seam it together to form a tube, which eliminates the need for complex increases or decreases. The ribbing provides significant natural stretch, ensuring a snug fit for various head sizes without feeling restrictive. Because it relies on basic half double crochet stitches worked in the back loops, this project is ideal for those looking to practice stitch consistency while finishing a functional accessory in a single evening.
I finished this hat in one sitting while watching a movie. The instructions were so clear that I didnt have to worry about losing my place, and the fit is exactly what I wanted.
— Sarah, beginner crocheter
Pattern Overview & Skill Level
- Skill Level: Beginner
- Approximate Time: 2–3 hours
- Construction: Worked flat as a rectangle, then seamed at the side and gathered at the top.
- Finished Dimensions & Sizing: 9 inches wide by 10 inches tall (fits most adult heads).
Materials & Supplies Needed
- Yarn: Worsted #4 weight, 100% acrylic or wool blend, approximately 200 yards.
- Hook Size: 5.5 mm (US I-9).
- Notions: Yarn needle, stitch markers, scissors, and a measuring tape.
- Safe yarn substitutions: You can use a lighter weight yarn, but you will need to increase your starting chain length and work more rows to maintain the dimensions. Acrylic blends are recommended for easy care, while wool provides better natural warmth.
Stitch Guide & Abbreviations (US Terms)
- ch = chain
- hdc = half double crochet
- BLO = back loop only (insert hook under the back loop of the stitch only)
- sl st = slip stitch
- st(s) = stitch(es)
Step-by-Step Pattern Instructions
Hat Body
You will work in rows to create a large rectangle. After finishing, you will fold the rectangle to create the hat shape.
- Row 1: Ch 41. Hdc in the second ch from hook and in each ch across. (40 sts)
- Row 2: Ch 1, turn. Working in BLO, hdc in each st across. (40 sts)
- Rows 3–60: Repeat Row 2 until the piece measures approximately 18 inches in length when slightly stretched. (40 sts)
- Finishing: Fasten off, leaving a 12-inch tail for seaming.
Assembly
- Fold the rectangle in half, matching the short ends together.
- Using your yarn needle and the long tail, sl st or whipstitch the two short ends together to create a tube.
- Turn the tube right side out so the seam is hidden on the inside.
- Weave the yarn through the top edge of the tube, pulling the yarn tight to close the gap completely.
- Secure the top with a knot and weave in all remaining ends.
Care & Washing Instructions
- Machine wash on a gentle cycle in cool water (30°C) inside a mesh laundry bag.
- Lay the hat flat on a clean towel to dry to prevent the fabric from stretching out of shape.
- Do not iron or steam directly, as heat can permanently alter the synthetic fibers or shrink wool.
Pro Tips & Common Mistakes to Avoid
Maintain consistent tension by holding your yarn with a steady, relaxed grip, which ensures the ribbing looks uniform throughout the piece. Use a stitch marker on the first stitch of every row to avoid skipping stitches and accidentally decreasing your row count. When seaming, place your needle through the edge stitches carefully to keep the join flat, which prevents an uncomfortable ridge against your forehead. If you want a slouchier fit, simply add more rows to your rectangle, but remember that this will require an extra 20 to 30 yards of yarn.
Frequently Asked Questions
Can I use a larger hook for this pattern?
Using a larger hook will result in a looser, more open fabric. This will make the hat drape more but will decrease the overall warmth provided by the stitches.
Is this pattern suitable for complete beginners?
Yes, this is an excellent first project because it involves only one type of stitch and requires no shaping. You only need to be comfortable with chaining and half double crochet.
Can I sell the hats I make from this pattern?
You are welcome to sell finished items made from this pattern. Please credit the designer when listing your items online.
How do I make the hat smaller for a child?
Reduce your starting chain by 5 to 10 stitches to shorten the height, and work fewer rows until the piece wraps comfortably around the child’s head.
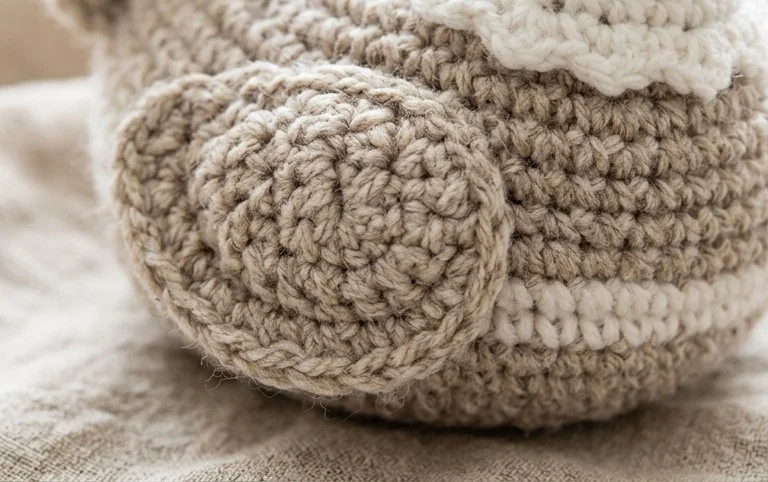
Your finished hat serves as a cozy staple for the colder months, especially when styled with a simple cuff or a faux fur pompom for extra weight. If you want to experiment, try holding two strands of a lighter weight yarn together to create a variegated color effect or adjust your chain length for a slouchier fit. Please post a photo of your creation on social media so others can see your color choices. You will find several more beginner-friendly projects available on the blog if you feel like starting your next handmade piece immediately.