Easy Crochet Hats for Dogs: Free Beginner Pattern
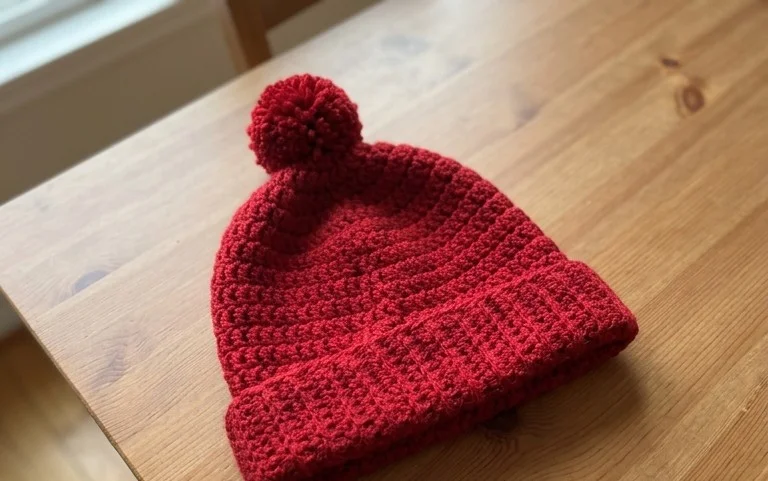
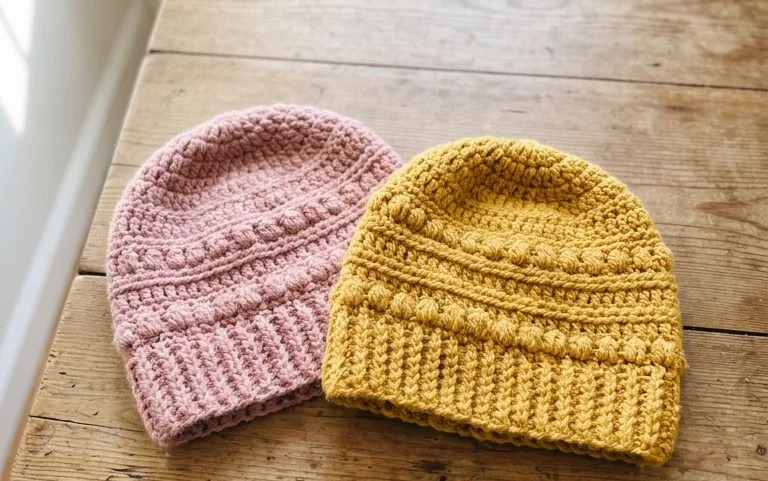
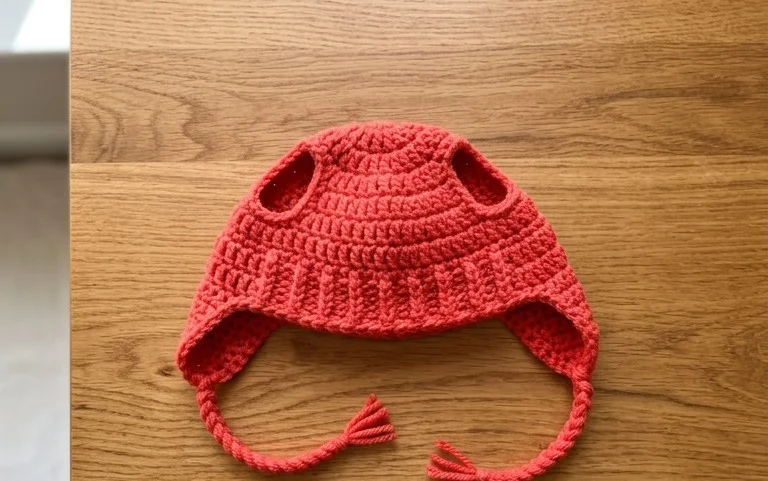
A handmade beanie brings an instant sense of personality to a pup, especially on chilly morning walks when the wind picks up. These small accessories provide a soft, cozy fit that stays comfortable during playtime, making them a quick project for anyone with a spare hour and some leftover yarn. You will work through simple increases and rounds of basic stitches to shape the cap around the ears for a custom look. This guide explains how to adjust the sizing based on your pet’s head measurements, ensuring a snug result that stays secure even while they run around the park.
Why You’ll Love This Pattern
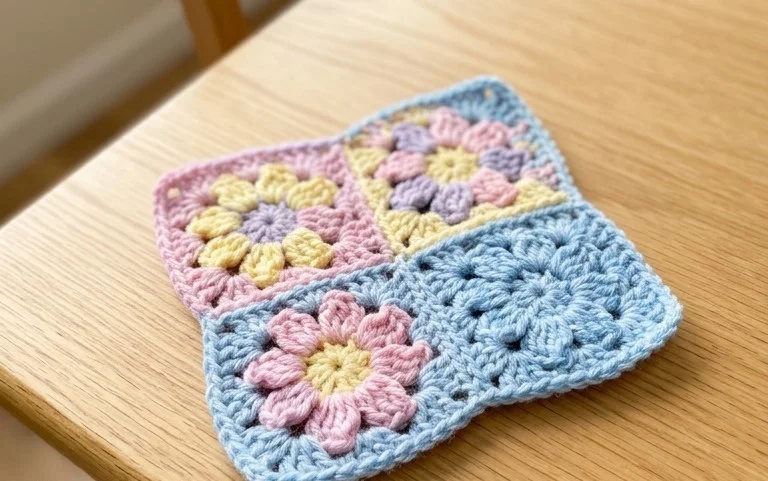
The Classic Crochet Granny Square is the fundamental building block of crochet design. This specific pattern creates a traditional, four-round square that measures approximately 4.5 inches, making it a modular unit for blankets, pillows, or tote bags. You will appreciate how quickly these work up, turning small amounts of leftover yarn into a cohesive project. The rhythmic nature of the double crochet clusters and chain spaces makes this an ideal pattern for practicing consistent tension while catching up on your favorite television show.
I started this project to use up my scrap yarn and was surprised by how addictive the repetitive rounds became. The instructions are very clear for a beginner.
— Sarah, hobbyist maker
Pattern Overview & Skill Level
- Skill Level: Beginner
- Approximate Time: 30 to 45 minutes per square
- Construction: Worked in joined rounds, starting from the center and expanding outward
- Finished Dimensions: 4.5 inches by 4.5 inches using worsted weight yarn
Materials & Supplies Needed
- Yarn: Worsted weight (#4), 100% acrylic or wool blend, approximately 15 yards per square.
- Hook Size: 5.0 mm (US H-8).
- Notions: Tapestry needle for weaving in ends, scissors, and optional locking stitch markers to hold corners.
- Safe yarn substitutions: You may use DK weight (#3) yarn with a 4.0 mm hook for a smaller, 3.5-inch square. Using bulky weight (#5) yarn will increase the size significantly and requires a 6.0 mm hook.
Stitch Guide & Abbreviations (US Terms)
- ch = chain
- st/sts = stitch/stitches
- sl st = slip stitch
- dc = double crochet
- sp = space
- Cluster = a group of 3 dc stitches worked into the same space
- MR = magic ring (or ch 4 and sl st to first ch to form a ring)
Step-by-Step Pattern Instructions
Granny Square Body
- Rnd 1: Start with a MR. Ch 3 (counts as first dc here and throughout), 2 dc in ring, ch 2, (3 dc in ring, ch 2) 3 times. Join with a sl st to the top of the beginning ch-3. (12 dc, 4 ch-2 spaces)
- Rnd 2: Sl st into the next 2 sts and into the first ch-2 corner space. Ch 3, 2 dc in same space, ch 2, 3 dc in same space (corner made). Ch 1, skip 3 dc, (3 dc, ch 2, 3 dc) in next ch-2 space. Repeat from * to * two more times. Ch 1, skip 3 dc. Join with a sl st to the top of the beginning ch-3. (24 dc, 4 ch-2 spaces, 4 ch-1 spaces)
- Rnd 3: Sl st into the next 2 sts and into the first ch-2 corner space. Ch 3, 2 dc in same space, ch 2, 3 dc in same space. Ch 1, 3 dc in the next ch-1 space, ch 1, (3 dc, ch 2, 3 dc) in next ch-2 corner space. Repeat from * to * two more times. Ch 1, 3 dc in the final ch-1 space, ch 1. Join with a sl st to the top of the beginning ch-3. (36 dc, 4 ch-2 spaces, 8 ch-1 spaces)
- Rnd 4: Sl st into the next 2 sts and into the first ch-2 corner space. Ch 3, 2 dc in same space, ch 2, 3 dc in same space. Ch 1, (3 dc in next ch-1 space, ch 1) twice, (3 dc, ch 2, 3 dc) in next corner space. Repeat from * to * two more times. Ch 1, (3 dc in next ch-1 space, ch 1) twice. Join with a sl st to the top of the beginning ch-3. Fasten off and weave in ends. (48 dc, 4 ch-2 spaces, 12 ch-1 spaces)
Care & Washing Instructions
- Hand wash your finished projects in cool water with a mild wool-safe detergent to preserve fiber integrity.
- Lay flat on a towel away from direct sunlight to air dry, ensuring the square is pulled into a perfect shape.
- Avoid wringing or twisting the fabric while wet, as this can stretch the stitches and distort the square.
Pro Tips & Common Mistakes to Avoid
Maintain consistent tension by holding the yarn taut but not tight; if your square begins to ripple, your hook size may be too small, or your tension too tight. Always place a stitch marker in the top of your beginning ch-3 at the start of every round, which makes finding the joining point much easier. When weaving in your ends, weave the yarn tail through the base of the stitches on the back of the square for at least one inch to ensure it remains secure through multiple washings. To adjust the size, simply add more rounds following the same expansion logic; note that each additional round increases the yarn requirement by approximately 5 to 7 yards.
Frequently Asked Questions
Can I use cotton yarn instead of acrylic?
Yes, cotton yarn works beautifully for this pattern and provides excellent stitch definition. Keep in mind that cotton has less stretch than acrylic, so your tension might feel firmer.
How do I change colors for a multi-colored square?
To change colors, complete the final slip stitch of a round with the new color. Alternatively, fasten off at the end of a round and join the new color in any corner space with a standing double crochet.
What if my square is not perfectly flat?
If the square cups inward, your hook is too small. If the edges ruffle or wave, your hook is likely too large for the weight of yarn you are using. Blocking the square with steam or pins usually corrects minor tension irregularities.
May I sell items made from this pattern?
Yes, you are welcome to sell finished products created from this pattern. I ask that you provide credit to this website as the designer when listing your items for sale online.
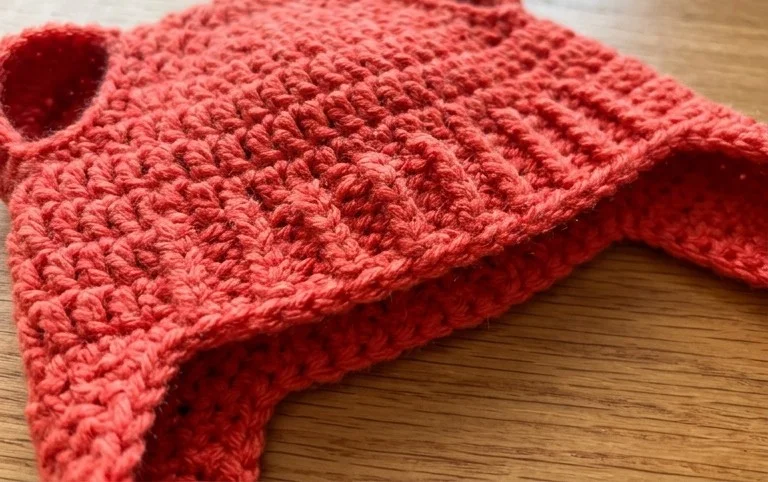
Your dog now has a custom accessory that fits perfectly and keeps their ears warm during autumn strolls. You can create different looks by swapping a neutral wool for a bold, variegated cotton or by adding a pom-pom to the top for a bit of extra character. Please share a photo of your finished work on social media so others can see how your project turned out. If you enjoyed this build, check our blog for more free patterns to fill your afternoon with fun crochet projects.