Easy Crochet Coaster Pattern: Step-by-Step Nordic Style
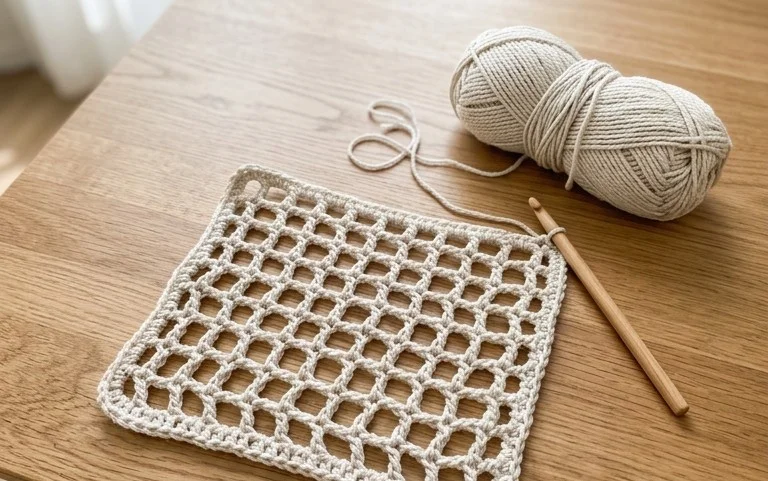
These thick cotton coasters bring a quiet, minimalist charm to your coffee table while keeping water rings off your wood surfaces. Working through the rounds feels rhythmic and calming, making this an ideal project for an evening when you want to keep your hands busy without much stress. Beginners find this build approachable because it relies on a single repeating stitch that creates a sturdy, dense fabric. You will learn how to maintain a smooth spiral shape without visible joins, which leaves a clean finish on both sides. Whether you are building a gift set for a friend or refreshing your own home decor, this project is a reliable way to use up cotton yarn scraps in a functional, lasting way.
Why You’ll Love This Pattern
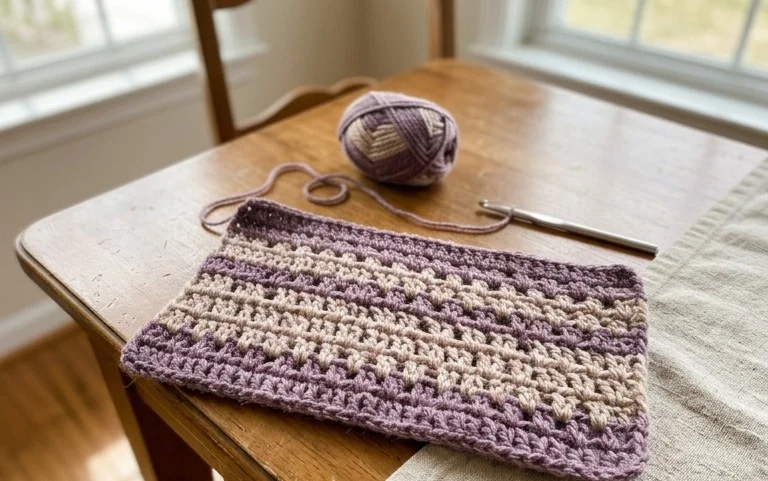
This beginner-friendly crochet coaster pattern uses simple, repeated stitches to create a dense, absorbent fabric that protects your furniture from condensation. Because it works up in less than 30 minutes, it is an ideal project for using up small amounts of leftover cotton yarn from larger makes. You will appreciate the minimal finishing required, as the design relies on a continuous spiral to eliminate unsightly seams or uneven row joins. The texture created by the basic stitches provides enough grip to keep your favorite mug securely in place.
I managed to finish a full set of four coasters in just one evening while watching a movie. The instructions were very easy to follow and the final result looks professional and clean.
— Sarah, home crafter
Pattern Overview & Skill Level
- Skill Level: Beginner
- Approximate Time: 20–30 minutes per coaster
- Construction: Continuous rounds worked in a spiral
- Finished Dimensions: 4 inches (10 cm) in diameter
Materials & Supplies Needed
- Yarn: Worsted weight (#4) 100% cotton yarn, approximately 15 yards per coaster. Cotton is chosen for its heat resistance and high absorbency.
- Hook Size: 5.0 mm (US H-8) crochet hook
- Notions: Tapestry needle for weaving in ends, locking stitch marker for tracking round starts
- Yarn Substitutions: Acrylic yarn can be used, though it is less absorbent and may melt if exposed to very hot mugs. Wool yarn is a viable alternative for a softer feel but requires hand washing.
Stitch Guide & Abbreviations (US Terms)
- ch: chain
- st(s): stitch(es)
- sc: single crochet
- inc: increase (work 2 sc in the same stitch)
- sl st: slip stitch
- MR: magic ring (a technique to start a circle by working stitches into an adjustable loop)
Step-by-Step Pattern Instructions
Coaster Body
- Rnd 1: Start with a MR. Work 6 sc into the ring. Tighten the loop securely. (6 sts)
- Rnd 2: Work 2 sc in each st around. (12 sts)
- Rnd 3: 1 sc in next st, inc in next st repeat from * to * 6 times. (18 sts)
- Rnd 4: 1 sc in each of the next 2 sts, inc in next st repeat from * to * 6 times. (24 sts)
- Rnd 5: 1 sc in each of the next 3 sts, inc in next st repeat from * to * 6 times. (30 sts)
- Rnd 6: 1 sc in each of the next 4 sts, inc in next st repeat from * to * 6 times. (36 sts)
- Rnd 7: 1 sc in each of the next 5 sts, inc in next st repeat from * to * 6 times. (42 sts)
Finishing
Once you reach the end of Round 7, work one slip stitch into the next stitch to smooth out the edge. Cut the yarn, leaving a 6-inch tail. Pull the tail through the final loop and use your tapestry needle to weave the end into the back of the work. If you prefer a decorative edge, you can add a round of reverse single crochet, also known as crab stitch, around the perimeter before binding off.
Care & Washing Instructions
- Machine wash your cotton coasters on a gentle cycle in cool water (30°C or 86°F).
- Reshape the coasters by hand while they are damp and lay them flat on a towel to air dry completely.
- Do not tumble dry, as high heat can shrink cotton fibers and distort the circular shape.
Pro Tips & Common Mistakes to Avoid
Maintain consistent tension throughout the project to ensure the coaster lies perfectly flat. If the edges begin to curl inward, your tension is likely too tight; try going up half a hook size. Always use a stitch marker at the beginning of each round, as it is easy to lose count when working in a continuous spiral. Weave your yarn ends in multiple directions—horizontally and then vertically—to ensure they stay secure through repeated use and washing cycles.
Frequently Asked Questions
Can I make these coasters larger for use as a placemat?
Yes, you can increase the diameter by continuing the pattern of increases. For each additional round, work the 1 sc in each of the next N sts, inc in next st sequence, where N is one higher than the previous round. Note that you will need more yarn for larger sizes.
Is it possible to use a thinner yarn for this project?
You can use a lighter weight yarn, such as DK or sport weight, but your finished coaster will be significantly smaller. To compensate for a smaller gauge, you will need to add more rounds to reach your desired width.
What is the best way to keep my circle from turning into a hexagon?
A hexagon shape often appears when increases are stacked directly on top of each other every round. To avoid this, try shifting the placement of your increases by starting some rounds with a few plain single crochet stitches, which helps distribute the increases more evenly across the circle.
Can I sell the finished coasters I make from this pattern?
Yes, you are welcome to sell finished items made from this pattern, provided you credit the designer. Please note that you may not sell or redistribute the written pattern instructions themselves.
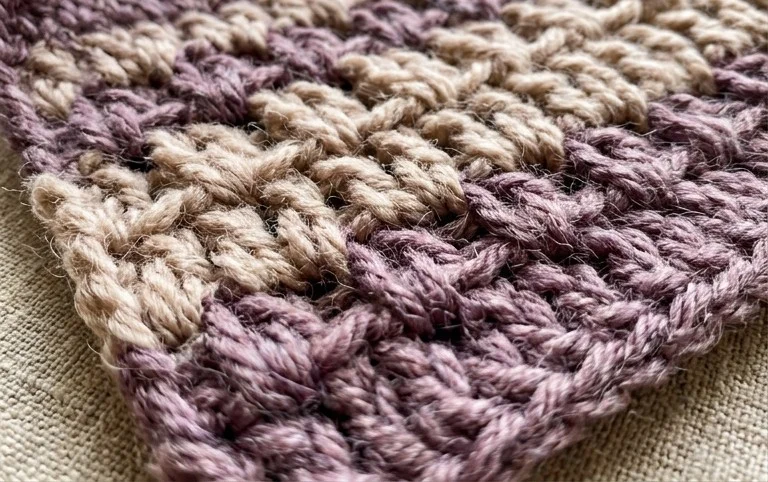
Your finished coasters have a weight and density that makes them sit flat and look quite polished on any table. To change the look, you might try using a variegated cotton yarn to create subtle color shifts or add a simple contrasting slip stitch border around the outer edge for extra durability. Tag your work on social media so others can see how your project turned out. Feel free to browse our archives for more free patterns that help you build your home collection one stitch at a time.