Classic Granny Square Crochet Pattern: Free Step-by-Step
A stack of these soft, squishy squares sitting on your coffee table brings a sense of order and handmade warmth to any room. This project creates a dense, classic fabric that feels substantial in your hands, making it a reliable choice for beginners building their skills or anyone needing a quick gift. You will learn the rhythmic three-double-crochet cluster technique, which is the heartbeat of this design. It is a satisfying way to organize your yarn stash while creating something truly useful. Whether you are crafting a simple coaster or planning a large blanket, this method provides a calm, steady rhythm for your afternoon.
Why You’ll Love This Pattern
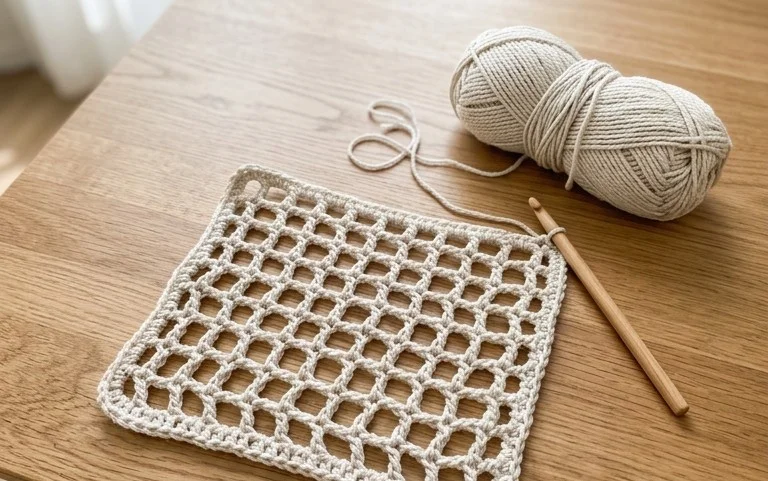
The Classic Crochet Granny Square is the fundamental building block for countless textile projects. This pattern uses a simple three-double-crochet cluster technique that works up quickly, making it an excellent choice for using up leftover yarn scraps from larger projects. Its repetitive nature provides a meditative experience, allowing you to establish consistent tension without complex counting. Because each round builds directly onto the previous one, you can easily stop after just a few rounds for a small coaster or continue until the piece becomes a large afghan block.
This pattern is the first thing I mastered when I started crocheting. The instructions are so straightforward that I was able to make a full throw blanket in just a few weeks of evening practice.
— Sarah, beginner crafter
Pattern Overview & Skill Level
- Skill Level: Beginner
- Approximate Time: 30–45 minutes per square
- Construction: Worked in joined rounds, starting from the center and expanding outward
- Finished Dimensions: 6 inches by 6 inches when using worsted weight yarn
Materials & Supplies Needed
- Yarn: Worsted weight (#4), 100% cotton or acrylic blend, approximately 25 yards per square.
- Hook Size: 5.0 mm (US H-8).
- Notions: Tapestry needle for weaving ends, sharp scissors.
- Yarn Substitutions: You can use DK weight yarn with a 4.0 mm hook for a smaller, tighter square, or bulky weight yarn with a 6.0 mm hook for a larger, quicker square. Note that changing the yarn weight will alter the final dimensions.
Stitch Guide & Abbreviations (US Terms)
- ch = chain
- st/sts = stitch/stitches
- sl st = slip stitch (insert hook, yarn over, pull through stitch and loop on hook)
- dc = double crochet (yarn over, insert hook, yarn over, pull up a loop, yarn over, pull through two loops, yarn over, pull through remaining two loops)
- cluster = a group of 3 dc stitches worked into the same space
- sp = space (the gaps created by chain stitches in the previous round)
Step-by-Step Pattern Instructions
Follow these instructions to create a standard solid-corner granny square.
- Rnd 1: Ch 4, sl st to the first ch to form a ring. Ch 3 (counts as first dc), work 2 dc into the center of the ring, ch 2, *3 dc into the center, ch 2; repeat from * twice more. Join with a sl st to the top of the beginning ch 3. (12 sts)
- Rnd 2: Sl st into the next dc and into the first ch-2 corner space. Ch 3, (2 dc, ch 2, 3 dc) in the same corner space. *Ch 1, skip 3 sts, (3 dc, ch 2, 3 dc) in the next corner space. Repeat from * twice more. Ch 1, join with a sl st to the top of the beginning ch 3. (24 sts)
- Rnd 3: Sl st into the next dc and into the corner space. Ch 3, (2 dc, ch 2, 3 dc) in the corner space. *Ch 1, 3 dc in the next ch-1 space, ch 1, (3 dc, ch 2, 3 dc) in the next corner space. Repeat from * twice more. Ch 1, 3 dc in the last ch-1 space, ch 1, join with a sl st to the top of the beginning ch 3. (36 sts)
- Rnd 4: Continue as established. In every corner, work (3 dc, ch 2, 3 dc). In every ch-1 space along the sides, work 3 dc. Chain 1 between all clusters. Join with a sl st to the beginning ch 3. (48 sts)
Care & Washing Instructions
- Machine wash your finished project on a delicate cycle using cold water to prevent fiber shrinkage.
- Lay the piece flat on a clean towel to air dry, ensuring you reshape the edges while the yarn is damp.
- Avoid using a tumble dryer, as high heat can damage the structure of the stitches and cause unwanted fuzzing on natural fibers.
Pro Tips & Common Mistakes to Avoid
Consistent tension is the secret to a flat square; if your piece starts to cup, your chain stitches are likely too tight, so try using a slightly larger hook. Always use a stitch marker at the beginning of each round so you can easily identify where to join with your slip stitch. When weaving in your ends, run your needle through the back loops of the same color stitches to keep the tail invisible. If you want to make the square larger, simply continue adding rounds following the logic of working 3 dc in every side space and (3 dc, ch 2, 3 dc) in every corner.
Frequently Asked Questions
Can I use different colors for each round?
Yes, this pattern is excellent for color changes. Simply fasten off your yarn at the end of a round and join the new color in any corner space to begin the next round.
Why does my square look wavy instead of flat?
A wavy square usually indicates that you are adding too many stitches per side. Ensure you are only working 3 dc in the side spaces and not adding extra chains between clusters.
Is this pattern suitable for making a sweater?
You can create a garment by joining multiple squares together. This technique is often used to construct cardigans or vests, though you will need to plan your layout according to your personal measurements.
How do I join these squares together?
The most common method is the whip stitch, which involves sewing the edges together with a tapestry needle, or the join-as-you-go method, where you connect the squares while working the final round of the second square.
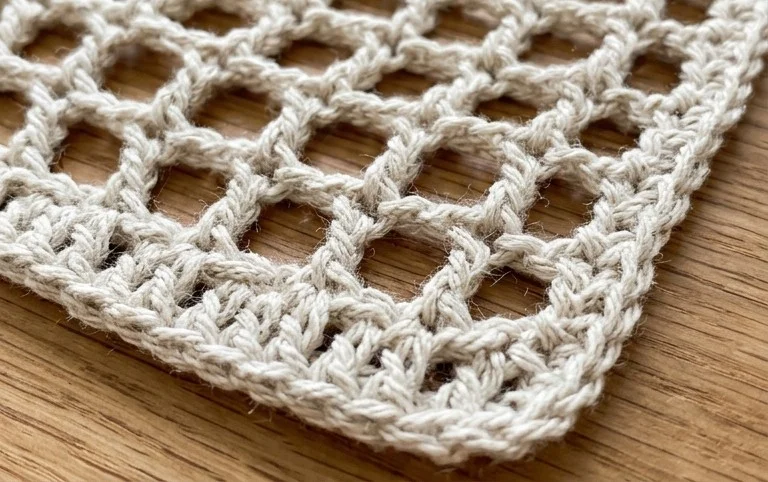
Your finished square now holds a place among the many items that make a house feel like a home. Try using a variegated yarn for your next block to see how the shifting colors change the look of the stitches without adding any extra effort. Sharing your work helps others get inspired for their own projects, so do post a photo of your progress when you have a moment. You can find more free patterns and seasonal guides across the blog as you continue to build your handmade collection.